
Brand:
CORIGY SOLARItem NO.:
FRM-001Payment:
T/T, L/C, O/A, D/PProduct Origin:
CHINAShipping Port:
XIAMENLead Time:
Depends on project time or receipt time
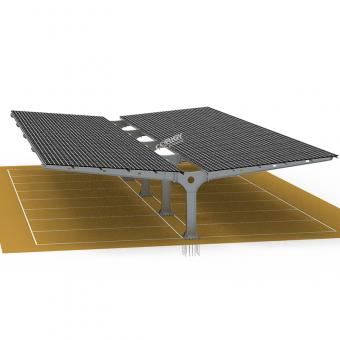
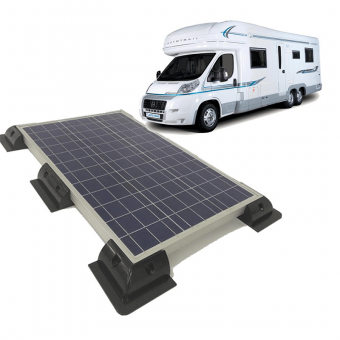
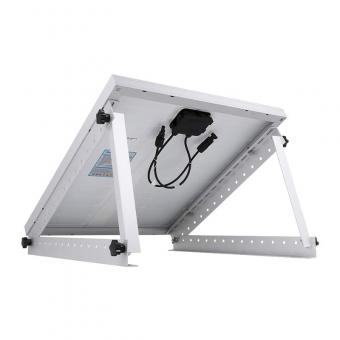
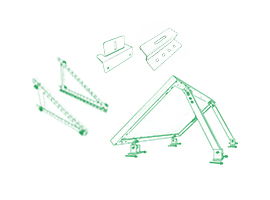
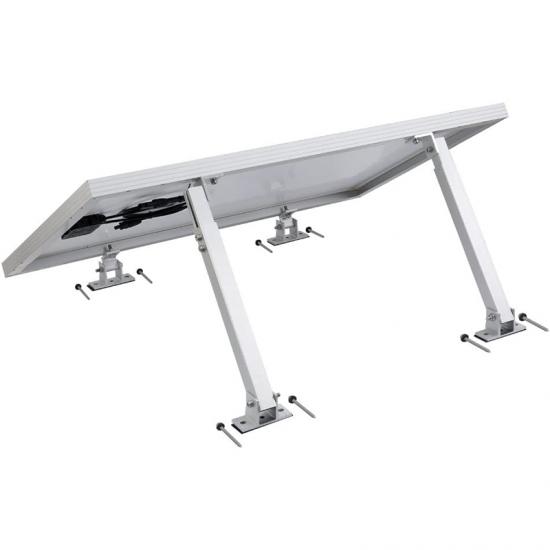
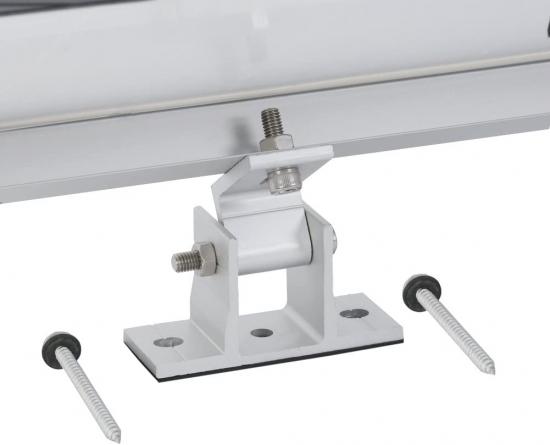
Solar adjustable mounting bracket
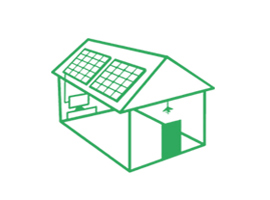
An RV rooftop solar mounting rack is designed to soundly mount sun panels on the caravan or RV roof. The angle of the adjustable solar panel tilt mount bracket may vary depending on your location and energy needs. These solar panel tilt mount brackets allow flexible positions, helping users to capture the most efficient energy in both mobile and off-grid setup.

Key features
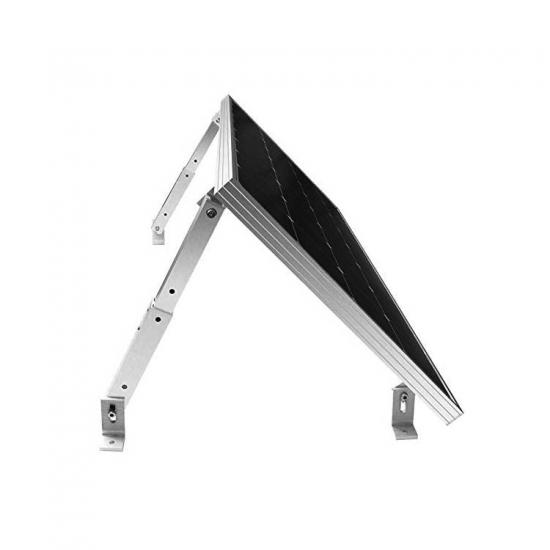
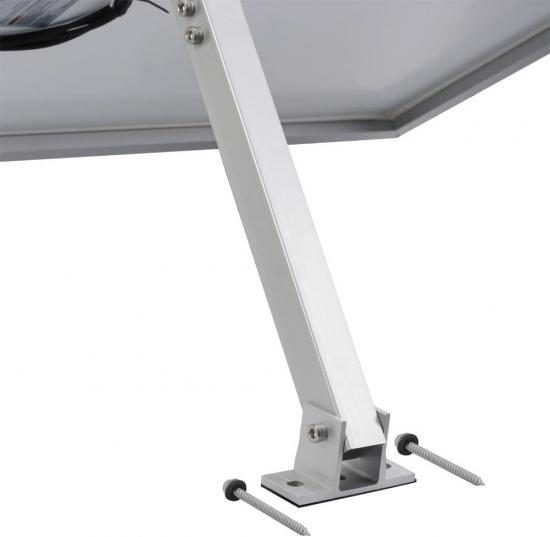
Adjustable tilt angle: With an adjustable sun panel tilt mount, you may set your panels between 10° and 60° to seize the first-rate sunlight and boom efficiency with the aid of up to twenty-five%.
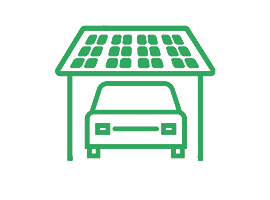
Universal compatibility: These solar panel tilt mount brackets are designed to fit maximum solar panels, from 100W to 400W. They are suitable for many surfaces, including flat roofs, RVs, boats, and more.
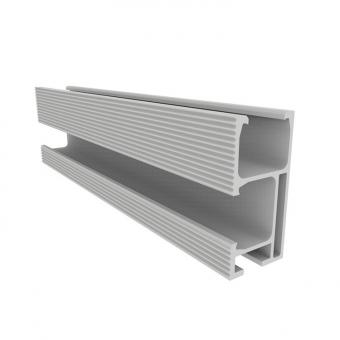
Durable material: Made from high quality aluminum alloys, these solar panels are tilt mount weather-resistant, rustproof, and are built in the final.


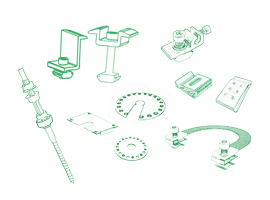
Technical Specifications
1. Material: Aluminum Alloy – strong, durable, and rust-resistant


To secure solar panels to an RV roof, you can follow these general steps:
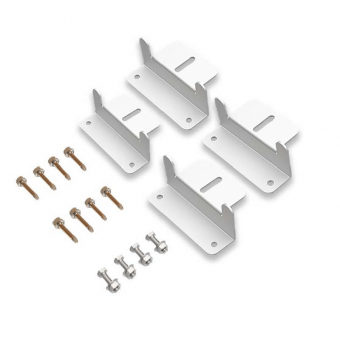
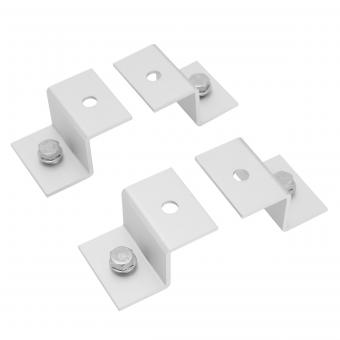
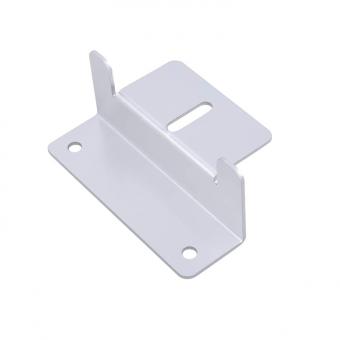
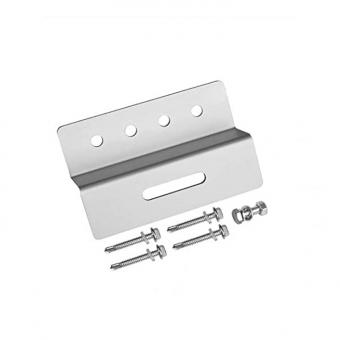
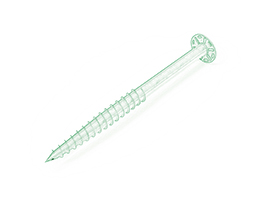
1. Direct Attach Mounting: This method involves attaching the solar panels directly to the RV roof using self-tapping screws or bolts. It requires drilling holes through the RV roof and using brackets or mounting feet to secure the panels in place.
2. Railed Mounting Systems: Railed mounting systems use aluminum rails that are attached to the RV roof using brackets or screws. The solar panels are then mounted onto the rails using clamps or brackets. This method provides flexibility in panel positioning and allows for easier maintenance and removal if needed.
3. Adhesive Mounting: Some solar panel installation kits come with adhesive backing that allows you to stick the panels directly to the RV roof. This method eliminates the need for drilling but requires a clean and smooth surface for optimal adhesion.

Installation Video


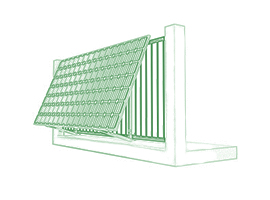
Applications of Solar Panel Tilt Mount


Corigy adjustable solar panel tilt mount bracket is robust, long lasting, and easy to install. You can apply it to rooftops, flat surfaces, or on the floor, and regulate the tilt to capture extra daylight in the course of specific seasons. Made from rust-resistant substances, it lasts a long term and can handle all varieties of weather.
This bracket facilitates your solar panels work greater efficaciously, supplying you with greater strength and saving money on energy.It is a simple, dependable, and lengthy-lasting answer for certainly anyone trying to decorate their sun energy gadget.
Corigy
Solar has been focusing on manufacturing and design solar mounting
bracket for more than 10 years. Corigy's products have been installed
and used in more than 30 countries and regions, with a total installed
capacity of more than 8GW. After the construction is completed, all
projects are completed by the official acceptance team, and they are
currently officially put into operation.
In
terms of selection, Corigy is based on the principle of highest
quality. The bracket uses high-quality main materials high-grade anode
aluminum Al6500-T5. The surface uses anode oxidation 12-15mic. Excellent
anti-corrosive rust and anti-rust performance ensures its 30-year
service life. At the same time, the characteristics of aluminum
lightweight reduces the weight of the roof and make it safe and
reliable. The maximum wind speed can carry 60m/s, and the snow load
capacity is 1.4kn/㎡.
All
bracket solutions of Corigy are calculated based on the live conditions
environment. Corigy's advanced technical team conducted a force
analysis of the structure of the building, combined with the layout of
the bracket and photovoltaic components to verify the various feasible
bracket installation solutions to determine the most efficient,
convenient, safe and reliable solution.
FAQs
A. The 20% rule means your solar panels should now not tilt an excessive amount above your roof. This continues them securely and regularly.
A. Loosen the bolts on the bracket, tilt the panel to the angle you want, and then tighten the bolts.
A. The first-rate angle normally suits your vicinity. A proper rule is to tilt the panels about similar to your range.
A. There are 3 essential types:
A. The smallest tilt is generally 10–15° so rain and snow can slide off without problems.


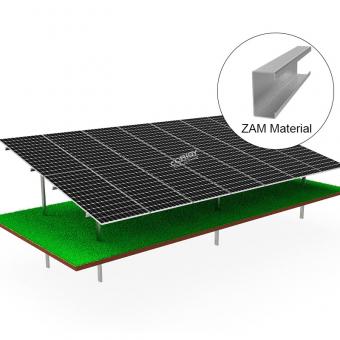
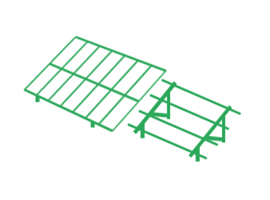
Corigy Solar Ground Mounting Racking System Structure is widely applied for landfll, open space or sloping terrain, etc, Diferent kinds of material can be offered for any needs, such as galvanized steel, anodized aluminum and ZAM materials.
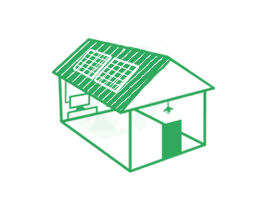
Flat roof solar mounting systems offer robust support and easy installation for solar panels on flat roofs. These systems ensure maximum energy capture, durability, and cost-efficiency, making them ideal for residential and commercial properties. Corigy flat roof solar panel mounting system, such as ballast mount, east-west ballast mount, etc. Contact us to learn more!
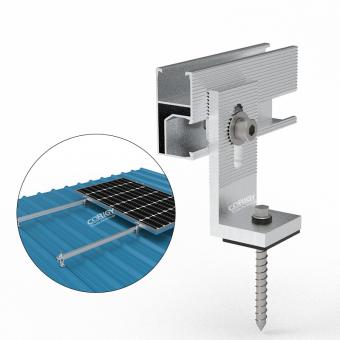
Install solar panel on the metal roof by standing seam, klip-lok, L foot or other clamps.
Solar mounting accessories such as end/mid clamp, cable clip, grounding items, etc.

CORIGY SOLAR, 15 years experience of research, manufacture and sale of solar energy system. We are always trying to provide the best support for you, including fast response, cost, QC, design, distributor support.
Phone
0086-592-6883200Location
No.893,Haicang Avenue,Haicang District,Xiamen City,China.

 IPv6 network supported
 English
 español
 한국의
한국의